Mehndi Design
Simple Mehndi for Beginners: Your First Design in 7 Steps
Updated 2026-09-23
If you have ever watched a mehndi artist work, it looks like magic. The good news: almost every design is built from just four strokes. Learn those, practise for a couple of weeks, and you can put a neat, simple mehndi design on your own hand.
What you need
- A natural henna cone (check the label – avoid "black henna" or cones that promise colour in 5 minutes)
- Plain paper and a pencil for practice
- Tissues and a toothpick for fixing mistakes
- Lemon juice mixed with a little sugar for sealing
The four basic strokes
- Dot – touch, squeeze gently, lift straight up.
- Line – keep the cone slightly above the skin and let the paste fall into place.
- Teardrop (petal) – press harder at the start, release as you pull.
- C-curve – a smooth half-circle; repeat them side by side to make borders.
Your first design in 7 steps
- Wash and dry your hand – no cream or oil.
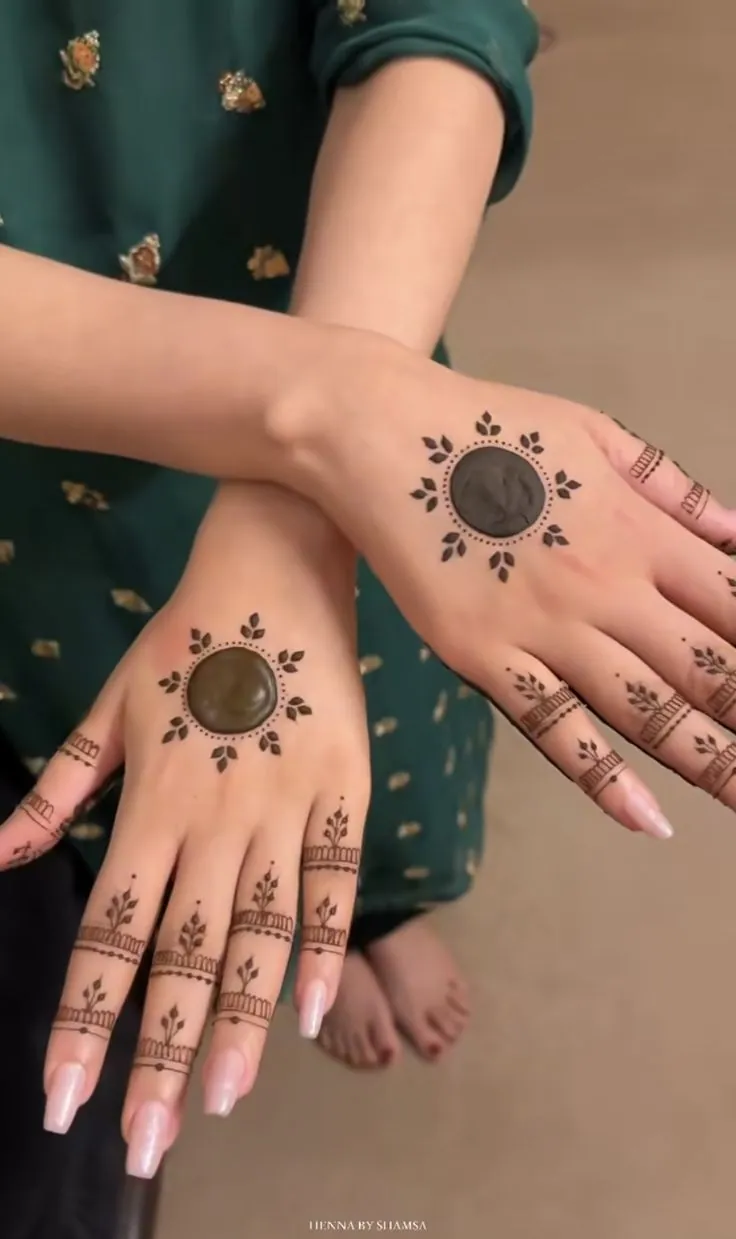
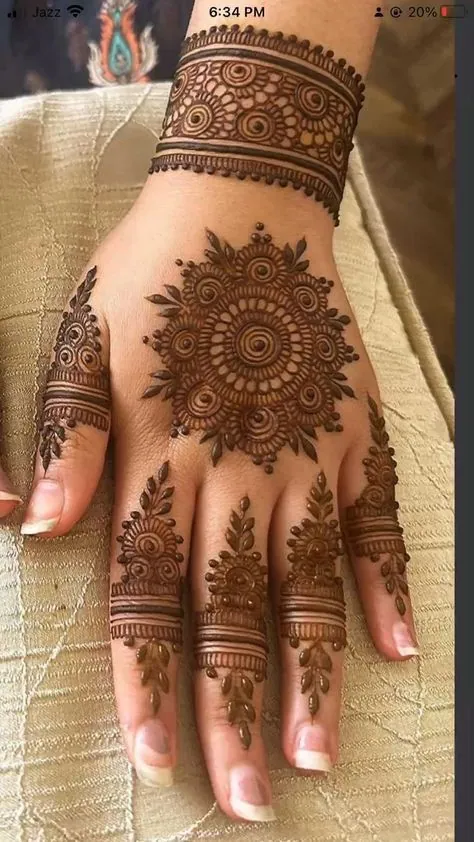
- Draw a small circle in the centre of the palm.
- Add 8 teardrop petals around the circle.
- Draw a second ring of C-curves around the petals.
- Finish the ring with a row of dots.
- Fill each finger tip completely, and add two thin bands on each finger.
- Let it dry for 20 minutes, dab with lemon-sugar, and leave the paste on for 4–6 hours.
Common beginner mistakes
- Squeezing too hard: lines get thick and blotchy. Use gentle, even pressure.
- Touching the skin with the cone tip: it drags the paste. Hover just above.
- Washing off too early: scrape the dry paste off instead, and avoid water for a few hours.
Ready to practise? Browse our easy mehndi designs and simple mehndi designs and pick one with open spacing.